My Projects
Bullets and Beats
A Rhythm/Bullet Hell Hybrid 2D game, inspired by the Touhou Project games with a Rhythm element added into the mix!
There are enemies and bosses to defeat which fill the screen with enemy projectiles that the player will have to avoid (in classic Touhou fashion)!
Players move with the mouse and collect ammo by interacting with "beats" at the appropriate timing.
Beats appear in time with the music's bpm and players are rewarded with more ammo for interacting with them during the correct time window.
Players will have to balance between collecting ammo, avoiding enemy projectiles being shot at them, and attacking and defeating the enemies!
The game starts off easy to ease the player into the controls and help them get used to the rhythm, along with a tutorial. Then the stages get progressively harder!
Here is a short clip of one of the boss fights, which as you can see, looks pretty chaotic! The boss fights look aesthetically pleasing too with enemy projectiles forming patterns.
The later stages are pretty challenging but it's definitely beatable!
The player also has the Pulse ability that can be used to clear enemy projectiles in a line. It consumes a significant amount of ammunition though, and the player
will have to decide between using Pulse or firing normally.

This was a group project made for the NM3216 Game Design module in National University of Singapore.
We made it using Gamemaker Studio 2, and the implementation was done by me and 2 of my groupmates.
We went through a bunch of iterations, trying to balance the Rhythm element of the game - the spawning of the beats, with the enemy projectiles on the screen.
The end result was a system where beats in the same group will spawn relatively close to each other so that the player does not need to keep moving across the map to avoid projectiles
but simply needs to avoid projectiles and stay in the general area.
It took us approximately 2 months to implement the game, and I worked on it after the semester for about 1-2 months to add a few features.
My groupmates were in charge of the art assets, beats spawning and enemy behavior while I worked on the rest, namely player abilities and interactions, user interface, tutorials and miscellaneous stuff.
Feel free to try the game out by clicking on the link below! Further instructions will be on the Github page.
Hope you have fun with the game! :)
Try the game out here!
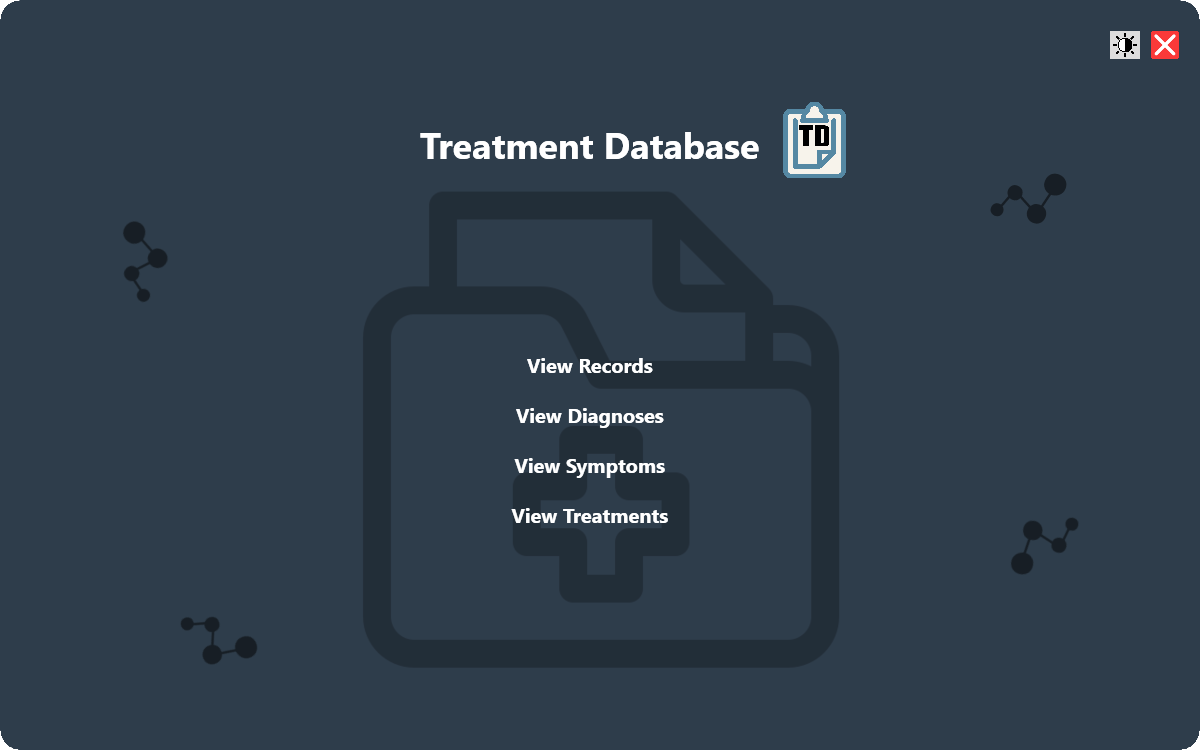
Treatment Database
A C# Windows Presentation Foundation (WPF) application, purposed as a database for keeping track of treatments with additional analysis capabilities.
Note-taking to record the observed symptoms and prescribed treatments is a practice that
medical practitioners have so that they can learn and improve from the effectiveness of the treatment.
This application was made as a digital substitute for note-taking for the aforementioned medical practitioners.
The data is categorized into 4 different categories, Records (where patient visitations are stored), Diagnoses, Symptoms and
Treatments, which display the respective medical terminology that the user has input, with can be furnished with more details.
When you add a Record into the database, the app will automatically populate the Diagnoses, Symptoms
and Treatments data. Treatment Database uses the SQLite database engine so that it is self-contained within the app and can be used offline with no Internet access.
Treatment Database allows you to add, search, sort treatment records.
Records can also be edited at any time. There is additional analysis for the other data categories, information such as "Most Common Diagnosis"
for a certain symptom, "Most Effective Treatment" recorded in the database for a certain diagnosis.
This analysis is purely data-based and are all arise from the data that is recorded in the app's database.
Users can also use the app to jot down more personal findings from their own experience, for example, personal notes for "hairline fractures" etc.
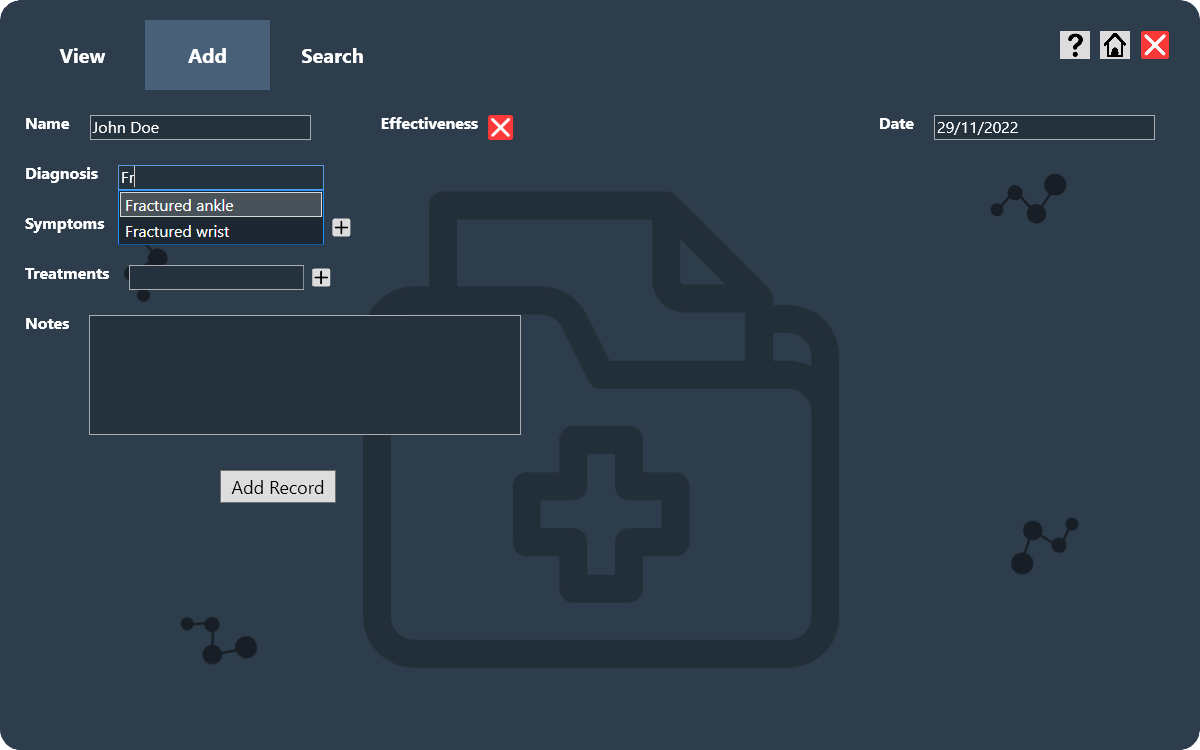
The "Add Record" page is shown on the left/above.
Since it will be the feature used most often, I tried to optimize the record adding process so that it is fast and streamlined.
First, users can navigate through the fields using intentionally designed tab-based navigation (using the Tab key to shift focus to the next field, Shift + Tab to return to the previous field).
The date will also be automatically filled in to the current date.
Also, there is an auto-fill feature that searches the database for similarly-spelled terms that users can use to fill in the fields faster, or avoid duplicate entries!
With these features, users can fill in records without using the mouse at all, once they have gotten used to the navigation.
Treatment Database was deployed using ClickOnce, and any updates to the application will be automatically checked for when the user launches the app.
Visit the Project Page below to download the application and try it out for yourself!
Try the app out here!
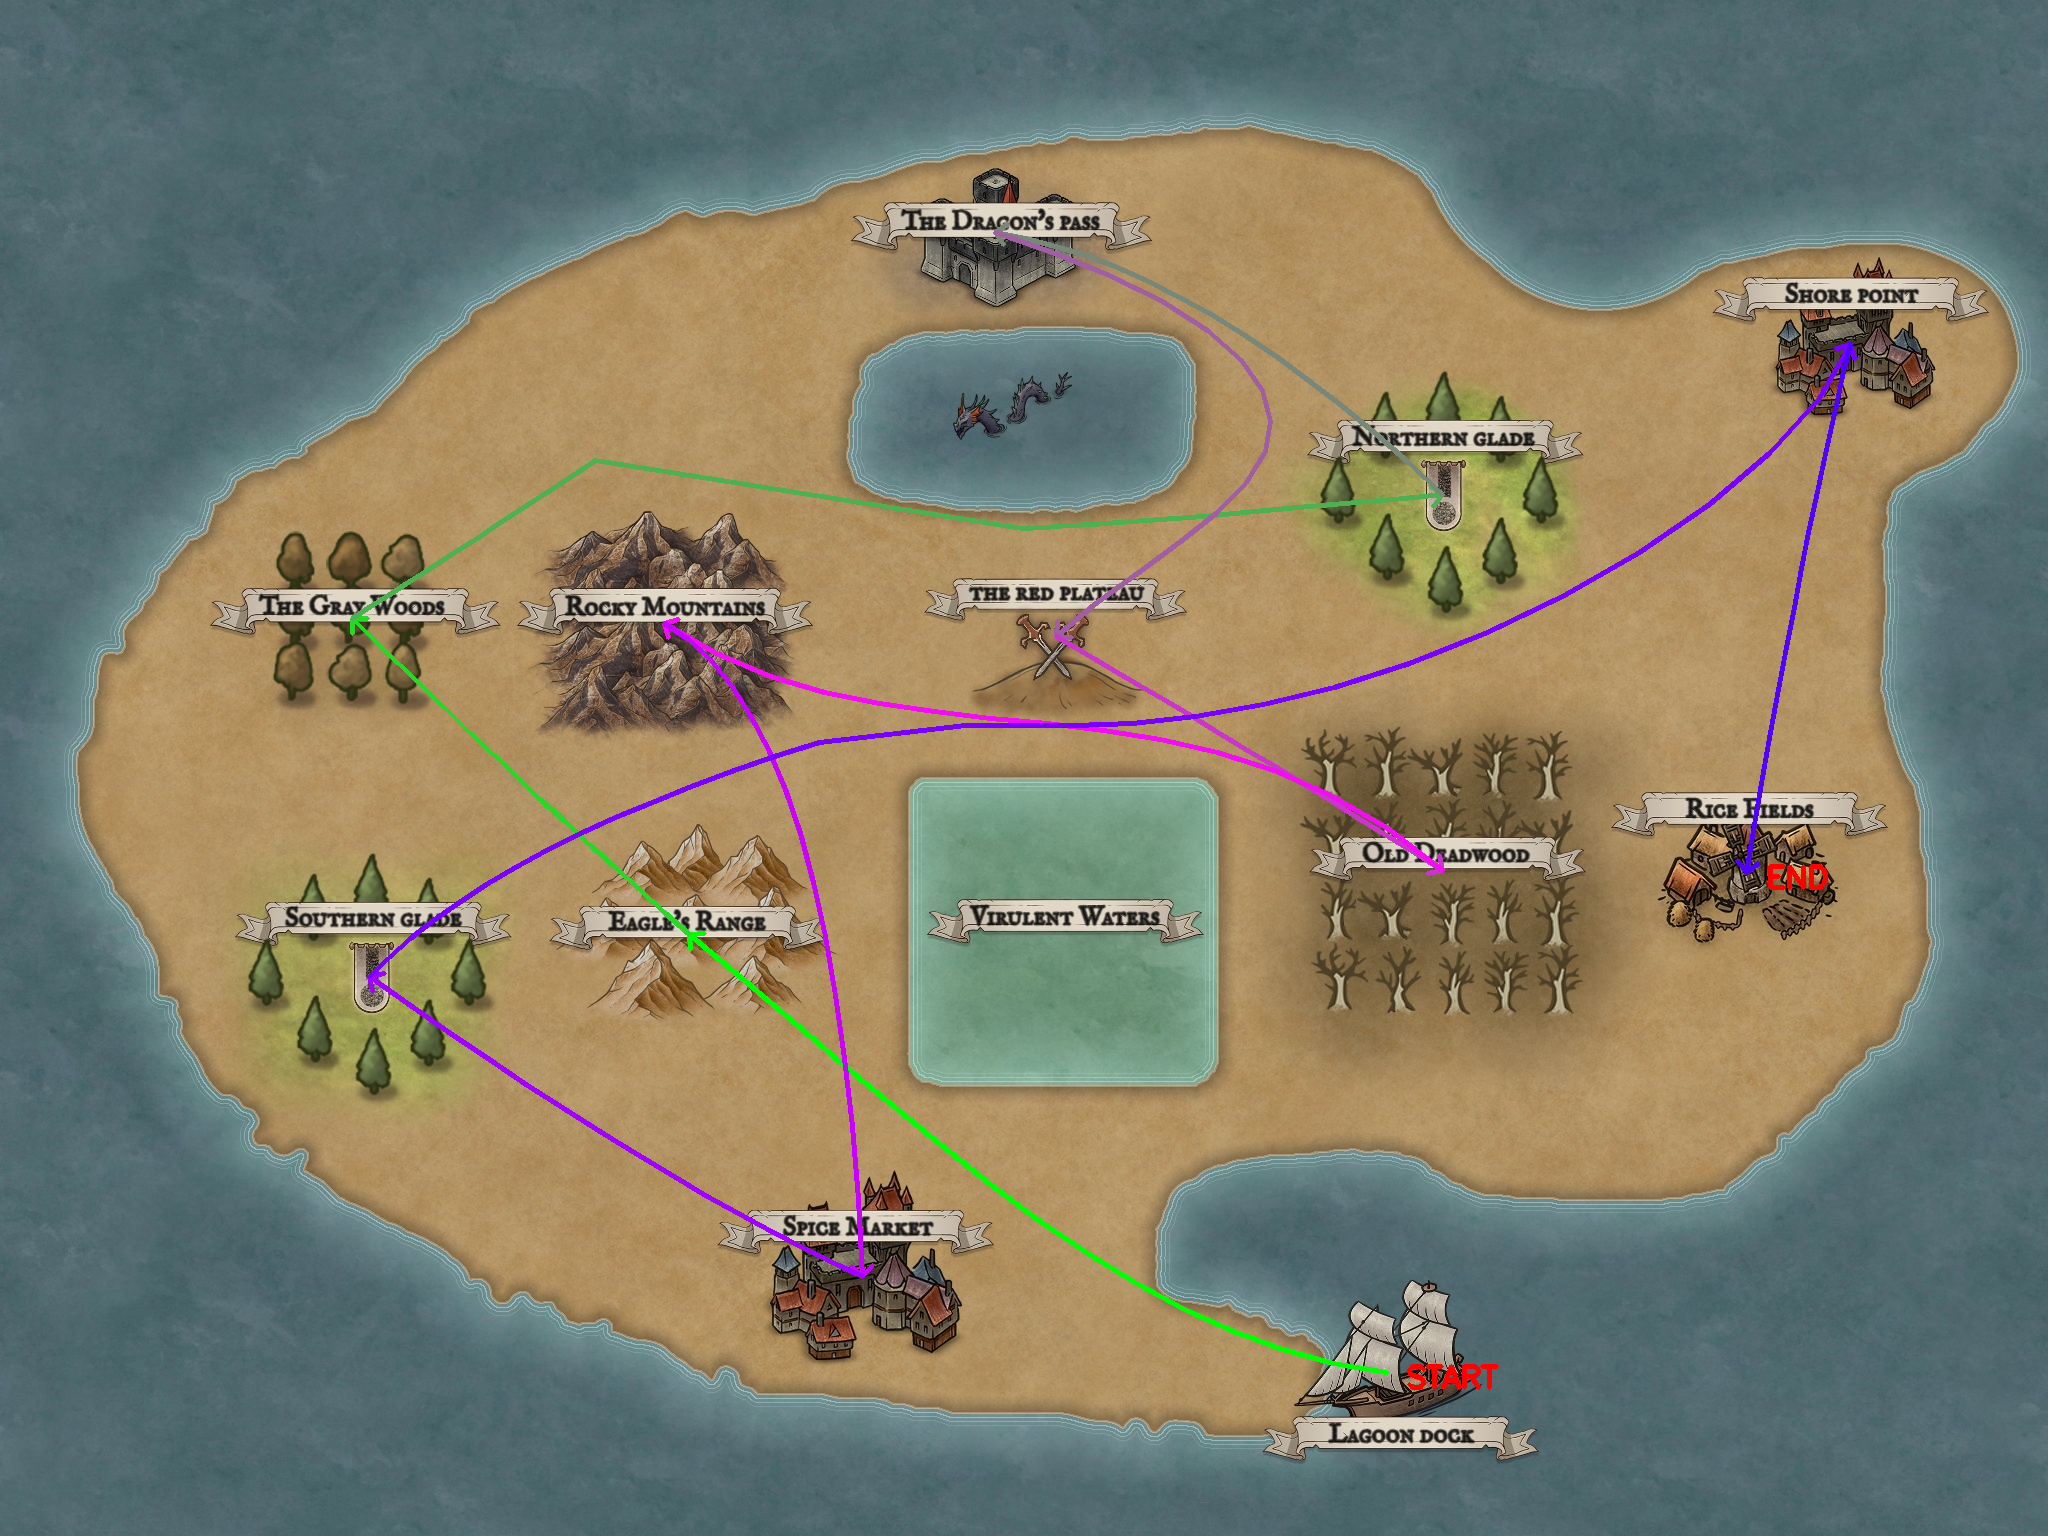
Random Path Visualizer
A Python script for random path generation and visualization, done as a personal project.
Given a list of names, it generates a random permutation of the contents.
If an image is provided (with a config file), the script will then draw the path of the permutation (etc. from the first item to the last, in order) on the image.
The path is chosen by selecting nodes in a graph based on one of the selected algorithms.
Currently, there is the simple Greedy Algorithm that selects an adjacent node that is closest to the destination, and the Dijkstra's Shortest Path Algorithm that finds the shortest path to the destination.
You can swap between the 2 algorithms by pressing Z or X!
2 input files are required for the visualisation feature. The image file that will be used to draw on, and a configuration text file.
The config file contains the names of the items, positions of the items on the image and the adjacency list of the graph that the script will use.
Sample input files are provided. One of the current drawbacks of the input method is that configuring the pixel positions of the items and the adjacency list for the config file is pretty tedious.
If you were to just connect each node in the graph with a straight line, you would end up with a sequence of straight lines between each item which I thought didn't look pleasing to the eyes.
So, I decided to make the paths curved and smooth by using Bezier Curves! Quadratic bezier curves are used and joined together for the final drawn path.
You can swap between Bezier paths and straight lines by pressing B!
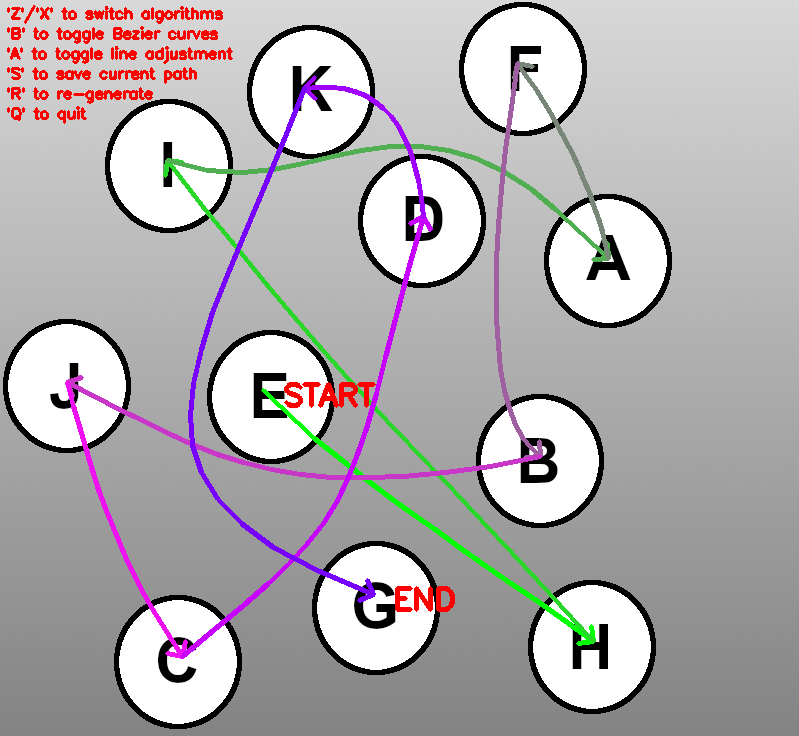
In addition to the usage of bezier curves, I added a line adjustment feature.
This would adjust the path dynamically to avoid areas on the image that are specified in the configuration file.
This can be used to avoid impassable areas on a map for example, or paths above the items in the image.
This proved to be a difficult feature to add as decided how to shift the control points for the bezier curves was much more complicated than I initially assumed.
Since the line adjustment was done in real-time, one consideration I had was the processing time the script needed to reach an acceptable path to draw.
Other than these features, there is the basic function of saving the current path so that the exact same path will not be re-generated again.
The saved path is stored in a text file in the same folder as the script.
The project turned out to be a pretty fun way to play around with OpenCV, the Python Computer Vision library and experiment with concepts that I learnt in university, different algorithms and math stuff like bezier curves!
The Random Path Visualizer started off simple but slowly evolved to become more complicated, with more tweaks being done over time. Improvements and optimizations might be done in the future so that it runs better and is easier to use!
Check out the Github page for more information below!
You can also try the script out yourself with the sample input files provided and observe the different outcomes!
Click for more details!
Playing around in Unity
Having already learnt and messed around with Unreal Engine in university when I took the CS3247 Game Development course, I decided to try out the other big game engine, Unity!
I wanted to try and make a pretty environment and decided to attempt to create a waterfall and a lake.
The final version is used as this box's background and in the website homepage!
Through doing this, I intended to learn about the different tools that Unity provides in game development.
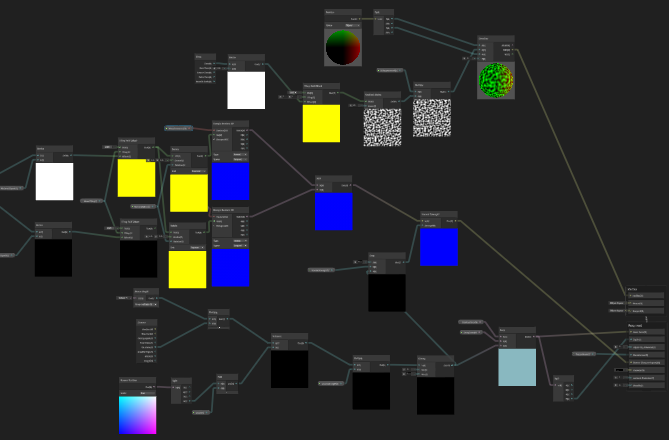
With reference to online tutorials, I experimented with Unity Shader Graphs to make the shaders for the waterfall and the water surface.
First, to create the moving ripple texture on the water surface, I scrolled 2 Normal textures in different directions.
Although it's a pretty simple technique, the results are pretty impressive and realistic!
For the water opacity, I used the distance between the camera and the water surface and did a linear interpolation between a shallow and deep color to achieve the final result.
Then, to simulate waves, I did vertex displacement by applying gradient noise to the surface vertices and displacing them correspondingly.
An example of the water surface shader is on the right/below!
To achieve the final result, I had to mess around with the parameter values for the shader quite a bit, and realised how important experience is in this regard.
Knowing what you want the outcome to look like and the general values speeds up this process tremendously.
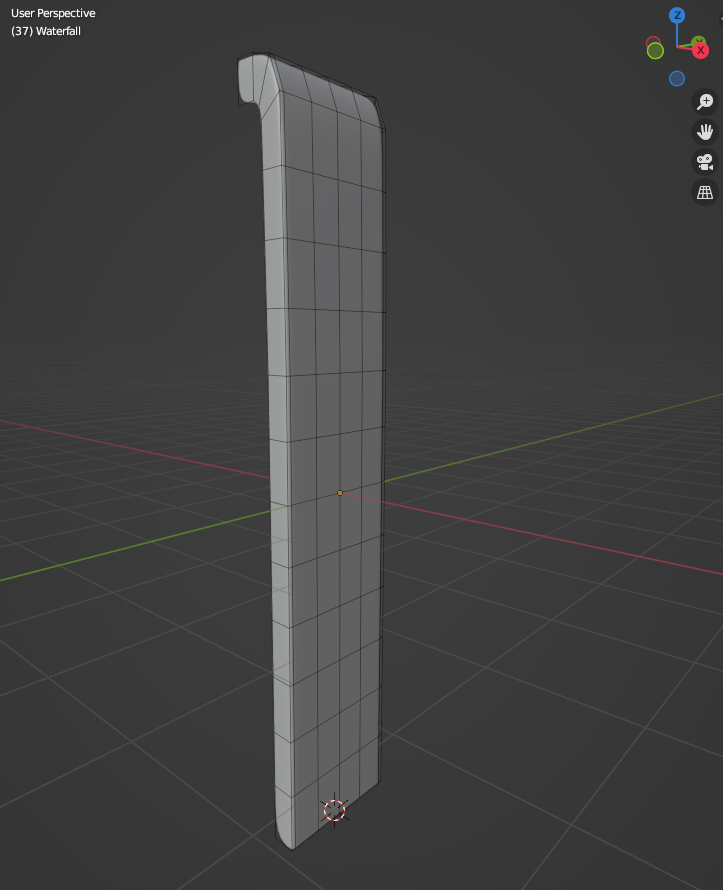
For the waterfall, I used Blender to create the waterfall mesh, shown on the left/above!
It took some getting used to, since I had to learn the keyboard shortcuts to work smoothly. I also tried creating a more non-uniform mesh but I wasn't
satisfied with the results and decided to go with the straight mesh.
Another thing I had to learn about was UV mapping. I needed to make sure it was regular so that when I scrolled the texture to simulate falling water in the waterfall shader,
it would fall vertically downwards and look realistic.
Then I used Unity's Particle System to simulate the water splashes at the bottom of the waterfall.
I first tried using a Ripple shader but it had some interference issues with the water surface shader and didn't fit in the scene.
The waterfall shader was pretty similar to the water surface shader, with the only difference being the texture scrolling.
Instead of using 2 Normal textures, I used some noise and applied it to the shader.
Also, I used vertex displacement again to adjust the mesh vertices so that the water moves as it goes down the waterfall instead of going
straight down.
I was pretty satisfied with the results! There are definitely things to improve and add on but I learnt quite a lot about different techniques and approaches that developers use to simulate real life physics.
This gave me some experience in implementing these concepts practically too!